For the past weeks I’ve wrote a series of articles on how to create a continuous integration server which began with the article Tools for a Continuous Integration (CI) server for PHP projects.
You can automate much more than what I’ve shown in this series of articles, specially front-end processes or automated tests and I hope you got to a point where you can investigate and start to tweak the continuous integration process to match your needs.
Without further ado, check how you can integrate the tools.
1. Add SonarQube analysis to TeamCity build
In the article Install and configure TeamCity 9 I showed how to install and configure a continuous integration server. At the time we added two steps to the build: one to execute the Gulp task and the other to execute Composer. Now, I’ll show you how to expand that build configuration to execute PHPUnit tests and SonarQube’s analysis.
As a requirement you need to have TeamCity and SonarQube installed. If you want to install them check the following articles:
- Install and configure TeamCity 9
- Install and configure TeamCity Agent on Linux Mint
- Install SonarQube and SonarQube Runner on Linux Mint
- Analyse a Laravel 5 (PHP) project with SonarQube
Follow the steps to integrate SonarQube analysis with TeamCity.
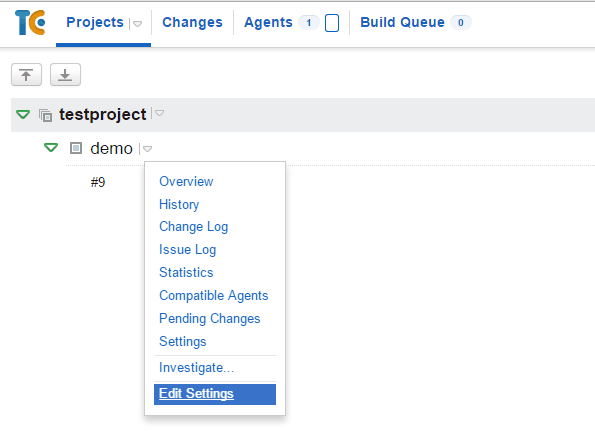
Go to the Projects page on TeamCity and click on the arrow next to your project’s name to expand the menu. Afterwards click on Edit Settings.
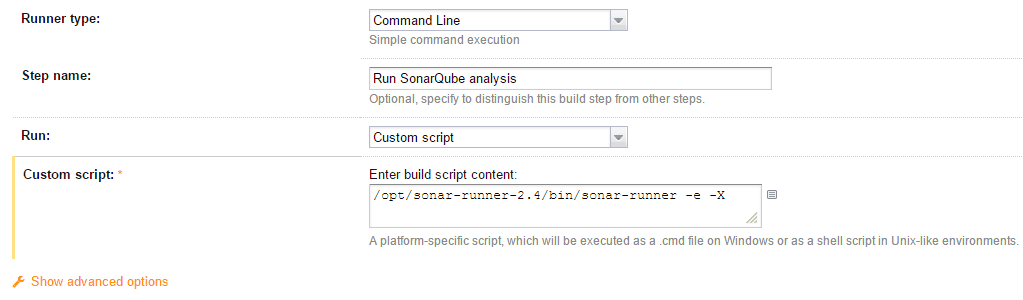
Click the Build Steps separator and then click on the Add build step button. You will create two steps (or just one, with both commands) where Runner Type is Command Line and Run is Custom Script. Here’s the commands you should enter:
phpunit
/opt/sonar-runner-2.4/bin/sonar-runner -e -X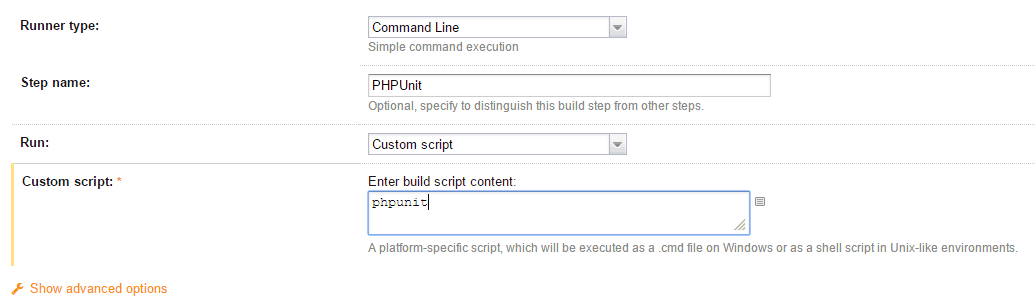
And you’re done. Whenever you push changes to the Git repository the tests will be executed and then a SonarQube analysis is performed. This means you can have an history of your project’s quality as you go.
2. Integrate SonarQube and Redmine
In the article Install Redmine and integrate it with Git I’ve shown how to install and configure Redmine, a project management application. You may want to create some technical issues related to the quality of your application and, if so, it can be handy to create those issues automatically through SonarQube.
In the following steps I’ll show you how to integrate SonarQube with Redmine so you can create Redmine tasks through SonarQube.
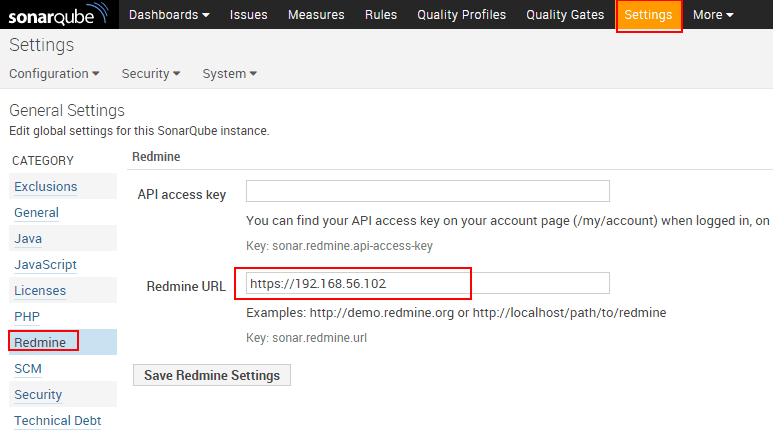
On SonarQube go to Settings » Redmine and fill the Redmine URL field.
 If you don't see Redmine most likely you haven't installed the plugin. To do so go to Settings » System » Update Center. Click the Available plugins tab and find Redmine (within Integration group) and install it.
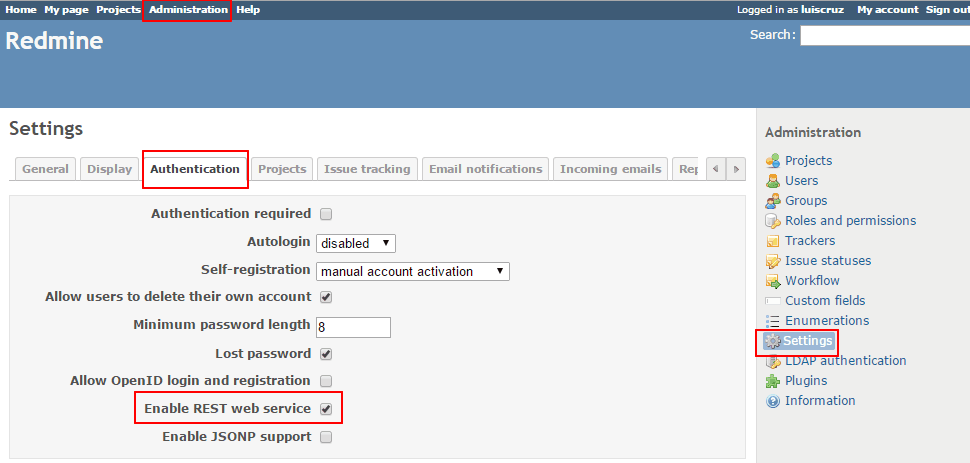
Go to Redmine at the page Administration » Settings and enable the Enable REST web service option.
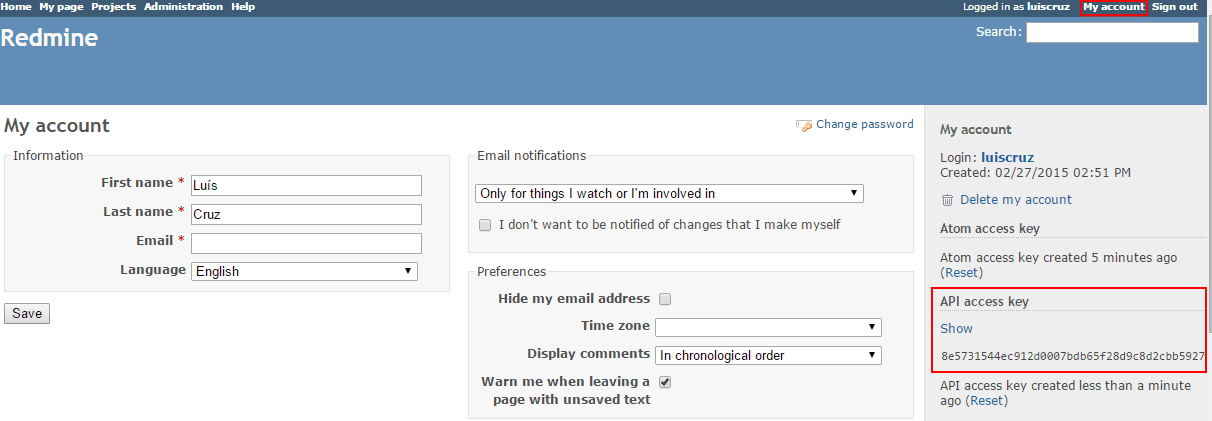
While in Redmine go to the My Account page and look for the section API access key on the side bar. Click the show link and copy the given key.
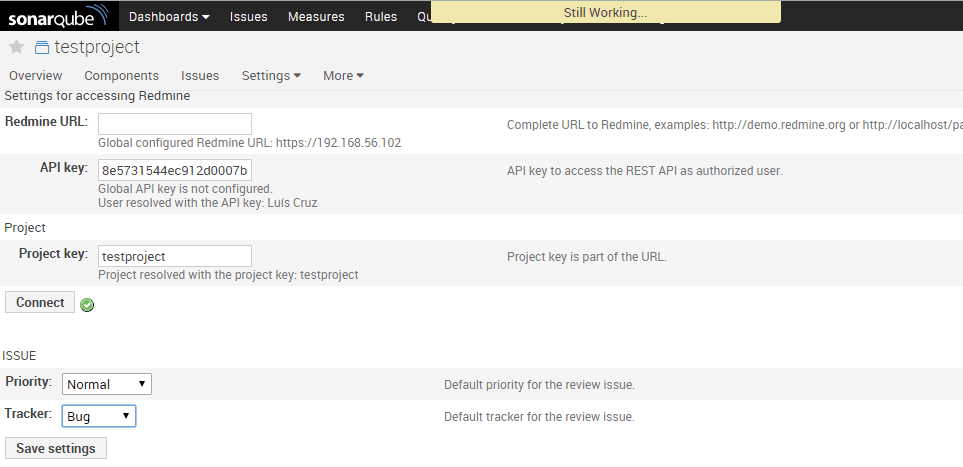
Back to SonarQube go to Dashboard and click on your project’s name. Then go to Settings » Redmine and fill the previously coppied key. You should also fill Redmine’s project identifier so SonarQube can correctly create the issues on the correct project.
Click on the Connect button to make sure your settings are correct. Assuming they are, fill the Priority and Tracker fields (they will be used when creating a new issue) and click on the Save Settings button.
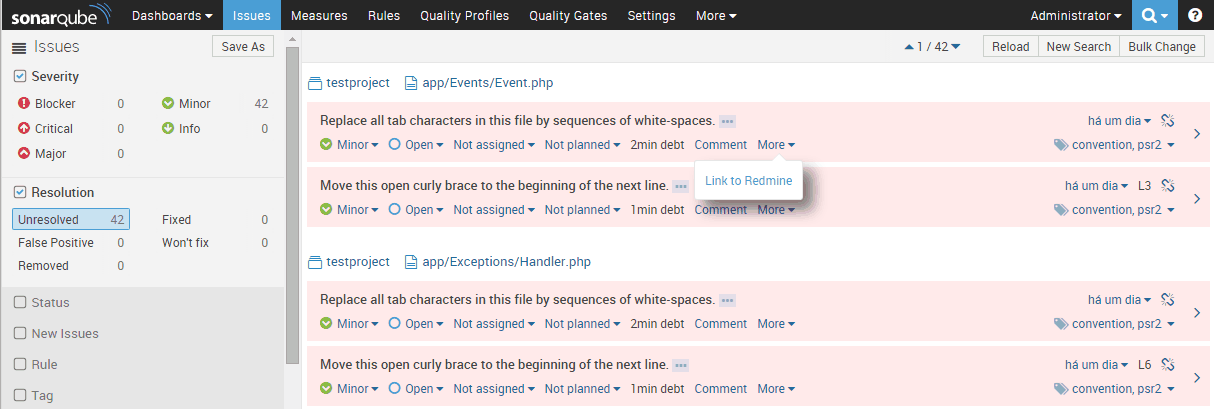
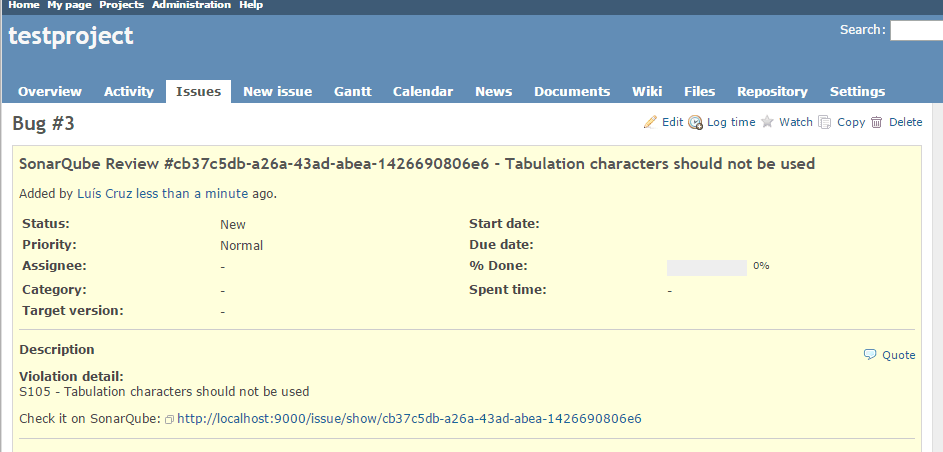
Now when you navigate to any issue you’ll be able to create a new Redmine issue through the menu More » Redmine.
You can confirm the issue was correctly create when you log into Redmine:
An so we end this series of articles. I hope you enjoyed it and if you have any troubles please do leave a comment..
This article is a part of the series How to set up a Continuous Integration Server for PHP projects
- Tools for a Continuous Integration (CI) server for PHP projects
- Install SSH and Git on Linux and configure a Windows development machine
- Install Redmine and integrate it with Git
- Install and configure TeamCity 9
- Install and configure TeamCity Agent on Linux Mint
- Install SonarQube and SonarQube Runner on Linux Mint
- Analyse a Laravel 5 (PHP) project with SonarQube
- Integrate SonarQube with TeamCity and Redmine - You are here