TeamCity is a Continuous Integration aplication, developed by JetBrains that supports multiple programming languages (such as Java, .Net and PHP). Although it’s a commercial tool, there’s a freemium version that allows you to use it freely with up to 20 configuration builds and 3 build agents. If you have an open source project, you can apply to a free licence. Check the licencing page to know more about this.
Before we go into details about the installation, you should know what a continuous integration tool is. An extended explanation can be found on Wikipedia and you should also check Martin Fowler’s article. Simply put, a continuous integration is used to trigger or execute a group of tools in an automated fashion. If you’re developing a Web application, this means that a CI can be used to minify Javascript and CSS for production environments. Or it can be used to run unit tests in quality assurance environments or to publish artifacts (such as exe, msi, jar, etc) to a specific server.
Most important, a continuous integration server allows you to execute automated tasks that can be related to software development, but can also be unrelated. For instance you might be able to execute specific scripts in remote machines.
Given this brief explanation, let’s start. This article is divided into the following sections:
Preparation
Install the necessary dependencies for TeamCity and PHP, if you haven’t done so yet.
sudo apt-get install build-essential libtcnative-1 php-pear php5 php5-cli php5-curl php5-dev
Install TeamCity
Download the latest available version of TeamCity.
After the download, access the download directory and extract the file. At the time where this article was written, the latest available version is 9.0.4.
cd ~/Downloads
tar -xvf TeamCity-9.0.4.tar.gz
Now move the directory to the final destination. I’ll install TeamCity in
/opt/but you’re free to choose a location of your choice.sudo mv TeamCity /opt/TeamCity cd /opt/TeamCitySince TeamCity is a Web application, you’ll need to set permissions to your webserver user. In our case www-data
sudo chown -R www-data /opt/TeamCityNow we’ll create a scrip that allows us to start or stop TeamCity. To do so, let’s create the script:
sudo gedit /etc/init.d/teamcityOnce the editor is shown, copy and paste the following content into the editor.
#!/bin/sh
# /etc/init.d/teamcity - startup script for teamcity
export TEAMCITY_DATA_PATH="/opt/TeamCity/.BuildServer"

case $1 in
start)
start-stop-daemon --start -c www-data --exec /opt/TeamCity/bin/teamcity-server.sh start
;;

stop)
start-stop-daemon --start -c www-data --exec /opt/TeamCity/bin/teamcity-server.sh stop
;;

esac

exit 0
This script was copied from this blog which, in turn, was taken from this blog
In order to be able to execute the script, you’ll need to change the permissions with the following commando:
sudo chmod +x /etc/init.d/teamcityAfter you’ve saved the script, add it to the startup, so TeamCity is started whenever you start / restart the server.
sudo update-rc.d teamcity defaultsFor the time being, just execute the script manually so we can access the application
sudo /etc/init.d/teamcityIf everything went smoothly you’ll be able to access TeamCity through http://localhost:8111 and you’ll see the following page:
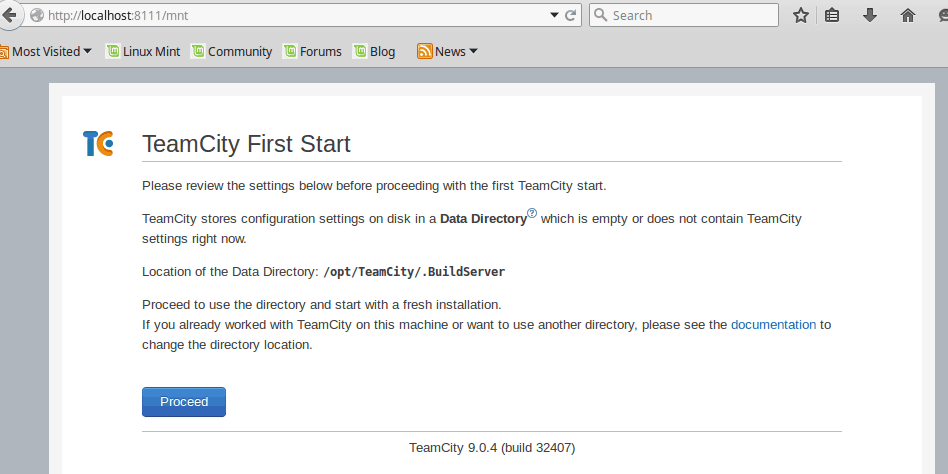
Configure TeamCity
We will now configure TeamCity, specifically the database.
Access TeamCity through http://localhost:8111 and click on Proceed
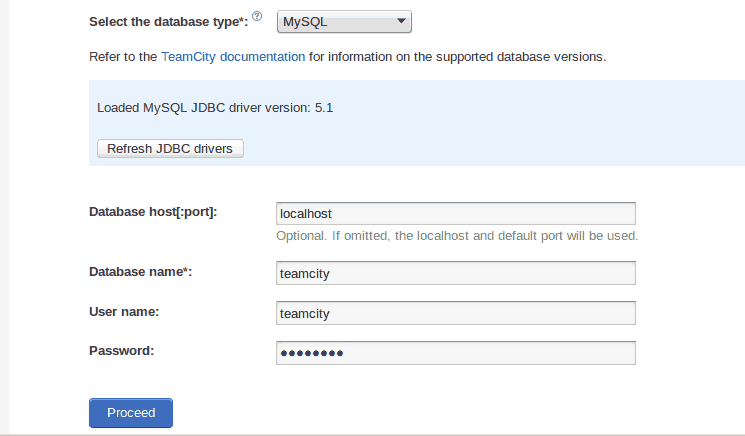
You have a few options for the database system you want to use. Since we’ve already installed MySQL when we installed Redmine we’ll use MySQL

TeamCity is developed in Java. In order to connect a Java application to a MySQL database, you’ll need to install MySQL JDBC connector. To do so, go to the download page and select Platform Independent. After that, simply download the .tar file.
You don't need to register to download software from MySQL. After you selected the software just go to the end of the page and you'll find a link that states No thanks, just start my download. and you only need to click there.Extract the downloaded file
cd ~/Downloads
sudo tar -xvf mysql-connector-java-5.1.35.tar.gz
Move the .jar file to the TeamCity directory
sudo mv mysql-connector-java-5.1.35/mysql-connector-java-5.1.35-bin.jar /opt/TeamCity/.BuildServer/lib/jdbc/Go back to the configuration page in your browser and click on Refresh JDBC Drivers.
Now you’ll need to create a database and user to be used by TeamCity. To do so, access the terminal and execute the following commands.
mysql –uroot –p
CREATE DATABASE teamcity CHARACTER SET UTF8;
CREATE USER 'teamcity'@'localhost' IDENTIFIED BY 'T34mC1tY';
GRANT ALL PRIVILEGES ON teamcity.* TO 'teamcity'@'localhost';
exit
So, you’ve just created a database named teamcity and a user also named teamcity with the password T34mC1tY.
Go back to the configuration page, fill the fields and click the Proceed button.
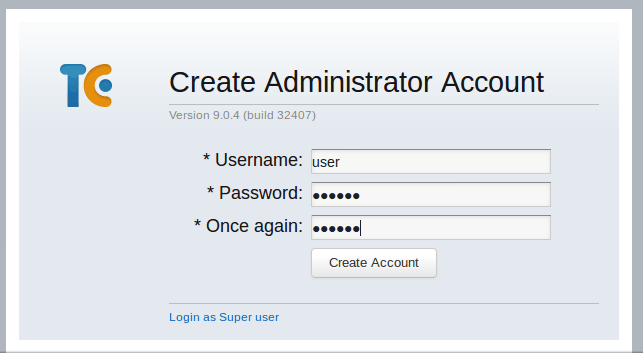
Now you’ll need to accept the licence (you didn’t go through all this trouble to not accept the licence, have you? ) and create an administrator account.
Now, you have completed TeamCity 9 installation.
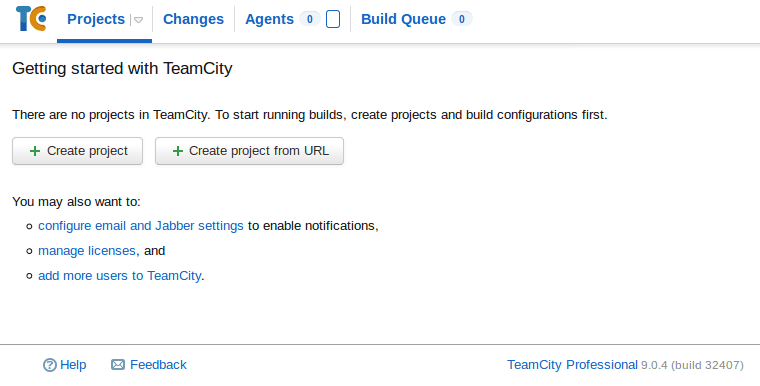
In the next article we’ll install and configure TeamCity Agent. You’ll learn about Configurations and how you can set them up. In the end we’ll integrate TeamCity with your Git repository in order to trigger the build whenever there are new commits on the repository.
This article is a part of the series How to set up a Continuous Integration Server for PHP projects
- Tools for a Continuous Integration (CI) server for PHP projects
- Install SSH and Git on Linux and configure a Windows development machine
- Install Redmine and integrate it with Git
- Install and configure TeamCity 9 - You are here
- Install and configure TeamCity Agent on Linux Mint
- Install SonarQube and SonarQube Runner on Linux Mint
- Analyse a Laravel 5 (PHP) project with SonarQube
- Integrate SonarQube with TeamCity and Redmine